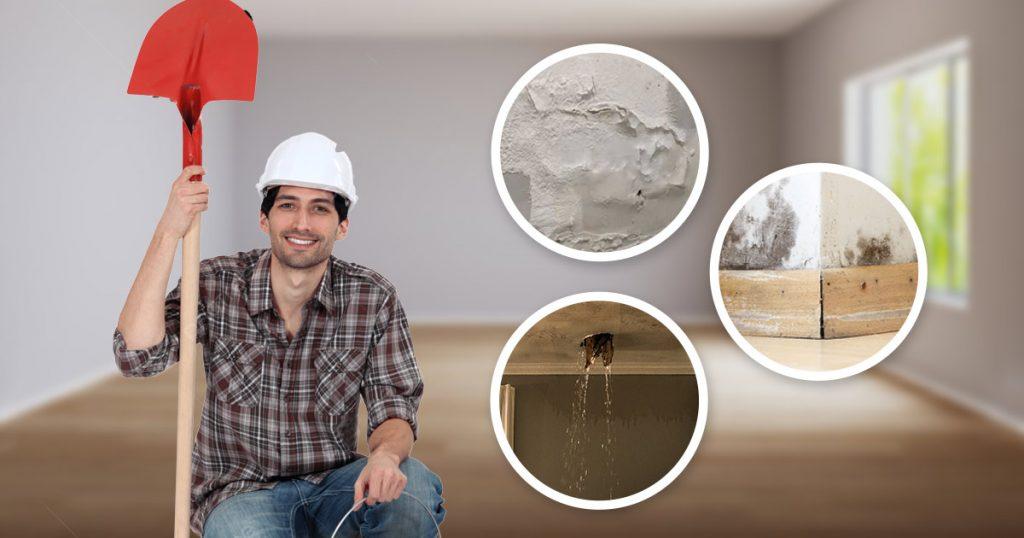
Water damage is often a homeowner’s biggest headache, particularly when it impacts drywall. It not only affects the look of your home but can also cause serious structural problems if not addressed promptly. Knowing how to tackle drywall water damage repair is crucial for keeping your home in good shape. In this guide, we’ll explore how to identify water damage, the materials you’ll need for repairs, and the step-by-step process to restore your walls.
How to Know if Your Drywall Has Water Damage
Detecting water damage in drywall can sometimes be tricky. The signs aren’t always obvious, especially if the damage is hidden behind paint or in less visible areas. Look out for discoloration, such as brown or yellow stains, which often indicate moisture accumulation. You might also notice peeling or bubbling paint and drywall that feels soft or mushy to the touch.
Additionally, if you detect a musty smell, it could signal mold growth, a common consequence of prolonged water exposure. By spotting these problems early on, you can take the right steps to handle drywall water damage repair before it worsens.
Safety Considerations When Repairing Drywall Due to Water Damage
Safety must always come first when doing repairs. Before you begin any work on damaged drywall, make sure the area is safe. Turn off the electricity in the room, especially if the damage is significant, to prevent the risk of electrocution. Wear protective gear, including gloves and a mask, to shield yourself from dust, mold spores, and other debris that may be present.
If the damage is severe or involves significant mold, consider consulting a professional before proceeding. They can evaluate the situation and advise you on the best steps to take, ensuring both your safety and the success of the repair.
Materials Needed for Drywall Repair
To handle drywall repair, it’s important to gather the necessary materials ahead of time. This preparation makes the process easier and helps you avoid multiple trips to the store. Here’s a quick list of what you’ll need:
- Drywall patch or new drywall sheets
- Joint compound
- Drywall tape
- Primer and paint
- Utility knife
- Drywall saw
- Measuring tape
- Sanding block or sponge
- Paintbrush or roller
- Safety goggles and gloves
With these materials on hand, you’ll be well-equipped to handle the repairs effectively.
Step-by-Step Process for Repairing a Water-Damaged Drywall
Now that you have your materials ready, let’s dive into the step-by-step process for how to repair water-damaged drywall. This guide will assist you in bringing your walls back to their original state without any unnecessary hassle.
Remove the Affected Portion
The first step in water damage drywall repair is to remove the damaged section. Using a utility knife, gently cut around the area that’s been affected by water damage. Ensure you cut at least a few inches beyond any visible damage to account for hidden moisture. If you’re working with a larger area, consider using a drywall saw for precision. Once cut, gently pull the damaged drywall away from the wall frame and dispose of it properly.
Put a Drywall Patch on the Wall
Once you’ve removed the damaged section, it’s time to put in a drywall patch. Measure the area you need to cover and cut a new piece of drywall to fit snugly into the opening. Position the patch, making sure it lines up with the wall studs for stability. If the patch doesn’t fit perfectly, no need to stress. You can use joint compound to fill in any gaps later.
Install the New Drywall
Once your patch is in place, secure it using drywall screws. Space the screws about 12 inches apart, driving them into the wall studs. Be careful not to sink the screws too deep; you want them to hold the drywall without breaking the surface. Once the patch is secured, apply drywall tape along the seams to ensure a smooth transition between the new and existing drywall. This step is important to prevent any visible lines once you paint.
Paint to Match the Rest of Your Wall
The final touch in your drywall water damage repair is painting. Begin by applying a coat of primer over the patch. This step is important because it helps the paint stick better and provides an even finish. Once the primer has dried, use a paintbrush or roller to add paint that matches the rest of your wall. Depending on the original color and type of paint used, you may need to apply multiple coats to achieve a seamless look.
Should You DIY or Hire a Professional?
Choosing whether to handle the repair yourself or bring in a professional depends on several factors, such as how severe the damage is and how comfortable you are with DIY tasks. If the damage is minor and you’re confident in your abilities, taking the DIY route can save you money and provide a sense of accomplishment.
However, if you’re facing serious water damage or mold, it’s best to consult a professional. They have the expertise and tools to handle the situation safely and effectively, ensuring that your home remains a safe environment.
Mastering Drywall Water Damage Repair
Repairing drywall water damage may seem daunting, but with the right approach and tools, it’s entirely manageable. By knowing how to identify water damage, taking necessary safety precautions, and following a step-by-step repair process, you can restore your walls and protect your home from future issues.
Keep in mind that if you’re ever unsure, it’s best to reach out for professional help to guarantee a complete and safe repair. Keeping your home in top shape is essential, and mastering these repairs is a valuable skill for any homeowner.
