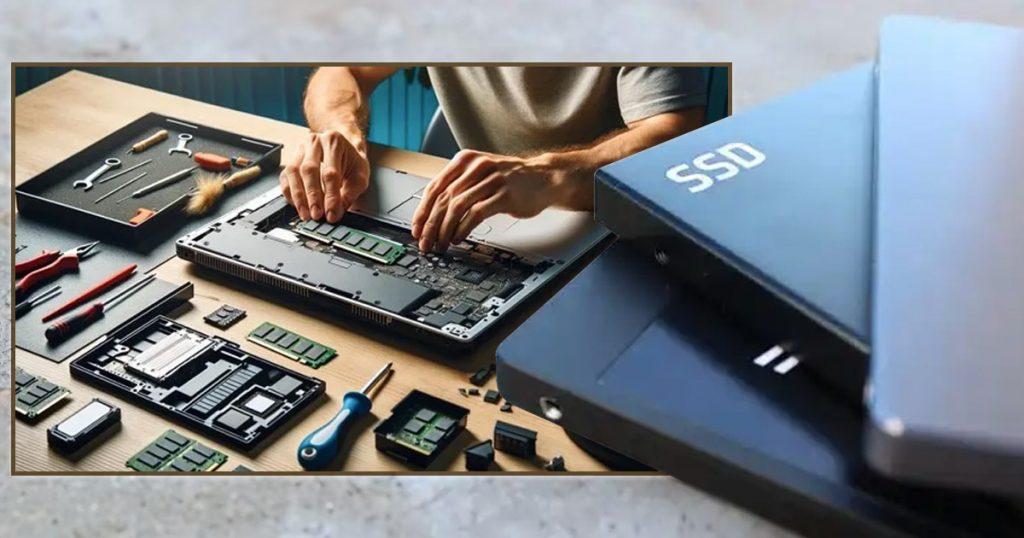
Upgrading your laptop’s storage to a solid-state drive (SSD) will significantly improve its performance and lifespan. But, how do you install an SSD on a laptop? Whether you’re a novice or have some technical know-how, here are the steps that will help you seamlessly transition to a faster and more reliable SSD.
Why upgrade to an SSD?
Before we start installing the SSD, it’s important to know what an SSD is and why it could be a great upgrade for your laptop. SSDs employ flash memory rather than spinning disks to read and write data, like traditional Hard Disk Drives (HDDs) do. This increases SSD speed and durability. Here are some of the main benefits of installing an SSD in your laptop:
- Speed: SSDs are significantly faster than regular hard disk drives. This translates into faster boot times, file transfers, and general system responsiveness.
- Reliability: SSDs have no moving parts, making them more durable and less susceptible to mechanical failure.
- Energy Efficiency: SSDs consume less power than HDDs, thereby extending the life of your laptop’s battery.
- Reduced Noise: Without the spinning disks found in HDDs, SSDs operate silently.
Tools and Materials Needed When Installing New SSD
Before you start, gather the necessary tools and materials:
- A compatible SSD
- A screwdriver (usually Phillips-head)
- An external enclosure or USB-to-SATA adapter (for cloning your existing drive)
- Cloning software (optional but recommended)
- Anti-static wrist strap (optional but recommended)
Step-by-Step Guide to Installing SSD in Laptop
Now that your tools and materials are ready, follow these steps to install a solid state drive on your laptop.
Step 1: Back Up Your Data
Before making any changes to your laptop, make sure to back up your data. This ensures you won’t lose any important files during the installation process. You can utilize an external hard drive, cloud storage, or any other backup method that suits your needs.
Step 2: Choose the Right SSD
Not all SSDs are compatible with every laptop, so it’s essential to choose the right one. Consider the following factors in installing a new SSD:
- Form Factor: The most common form factors for laptops are 2.5-inch SSDs and M.2 SSDs. Check your laptop’s specs to see what type you require.
- Interface: SATA is the most common interface for 2.5-inch SSDs, while M.2 SSDs can use SATA or NVMe interfaces. NVMe offers faster speeds but may not be compatible with all laptops.
- Capacity: Choose an SSD with adequate storage capacity for your requirements. Typical capacities range from 250GB to 2TB or more.
Step 3: Clone Your Existing Drive (Optional)
Cloning your existing drive to the new SSD is optional but highly recommended. This operation moves everything of your data, including the operating system, apps, and settings, to the new disk. Here’s how to do it:
- Connect the SSD: Use an external enclosure or USB-to-SATA adapter to connect the SSD to your laptop.
- Download Cloning Software: There are different free and premium cloning software choices available, including Macrium Reflect, Clonezilla, and Acronis TrueImage.
- Clone the Drive: To clone your existing drive to the new SSD, follow the software’s instructions.
This process may take some time, depending on the amount of data.
Step 4: Prepare Your Laptop
- Power Down and Unplug: Turn off your laptop and unhook it from the power supply. Remove the battery, if feasible.
- Ground Yourself: To prevent static energy from damaging your laptop’s components, use an anti-static wristband or ground yourself by touching a metal object.
Step 5: Open the Laptop
The method for accessing your laptop’s storage bay varies by model. For more particular information, check your laptop’s user manual. Generally, you’ll need to:
- Remove the Screws: Use a screwdriver to remove the screws that hold the back panel together.
- Lift the Panel: Carefully lift the back panel to reveal the internal components.
Step 6: Remove the Existing Drive
- Locate the Existing Drive: Find the current HDD or SSD in its bay.
- Disconnect the Drive: Carefully disconnect the drive from the connector, being mindful of any attached cables.
- Remove the Drive: If the drive is secured with screws, remove them and slide the drive out of the bay.
Step 7: Install the New SSD
- Insert the SSD: Insert the new SSD into the drive bays. Ensure that it is securely linked to the SATA or M.2 interface.
- Secure the SSD: If necessary, use screws to hold the SSD in place.
Step 8: Reassemble Your Laptop
- Replace the Back Panel: Carefully reconnect the rear panel and fasten it with the screws you removed previously.
- Reinstall the Battery: If you removed the battery, replace it and reattach any loose cords.
Step 9: Power On and Configure
- Power On: Turn on your laptop. If you cloned your existing drive, your laptop should boot up as usual.
- Install the Operating System: If you did not clone your disk, you will have to install the operating system on the new SSD. Insert the OS installation media and follow the on-screen prompts.
Step 10: Verify the Installation
- Check the BIOS: Enter the BIOS or UEFI settings to ensure your laptop recognizes the new SSD. Typically, you can access the BIOS by pressing a key such as F2, F10, or DEL during startup.
- Initialize the SSD: If the SSD isn’t recognized, you may need to initialize it in your operating system. To initialize and format the drive, launch Disk Management (Windows) or Disk Utility (Mac), then follow the prompts.
Additional Tips
- Keep Your Old Drive: Consider keeping your old drive as a backup or repurposing it as external storage.
- Firmware Updates: Check for firmware updates for your new SSD to ensure optimal performance and reliability.
- Performance Optimization: Enable features like TRIM (for Windows) or ensure your SSD is properly configured for your operating system to maintain performance over time.
Boost Your Laptop By Installing an SSD
Installing an SSD on your laptop is a straightforward process that can greatly improve its speed, reliability, and efficiency. By following the steps indicated in this guide, you will be able to properly update your laptop’s storage and enjoy a more seamless, speedier computing experience. Whether you’re a beginner or have some technical experience, this guide provides all the information you need to install an SSD on your laptop and take advantage of the many benefits it offers.